Reno Pro Solutions / popcorn ceiling removal

Reno Pro Solutions specializes in home renovation and design services in the Ottawa and Gatineau areas. Our expertise includes popcorn ceiling removal, drywall repair, interior painting, finishing/plastering, accent walls, and spotlight installation for ceiling lighting. Whether you're looking to refresh your space or enhance its aesthetics, we deliver high-quality craftsmanship with attention to detail.

Reno Pro Solutions 
Popcorn ceiling removal and Painting contractor 

What Is a Popcorn Ceiling?

A popcorn ceiling, also known as an acoustic or stipple ceiling, is a textured surface characterized by its bumpy, cottage cheese-like appearance. This texture is created by spraying a mixture of materials, such as Styrofoam or stucco, onto the ceiling surface. While it was once prized for its ability to hide imperfections and dampen sound, popcorn ceilings have fallen out of favor due to their outdated look and challenging cleaning and maintenance.

Reasons To Remove a Popcorn Ceiling

Here are some reasons you may want to get rid of your popcorn ceiling:

  1. Improved aesthetics: Smooth or lightly textured ceilings can make a room feel more modern and spacious.
  2. Easier maintenance: Popcorn ceilings are notorious dust collectors and can be challenging to clean.
  3. Better lighting: Smooth ceilings reflect light more effectively, brightening up your space.
  4. Increased home value: Updated ceilings can be a selling point for potential buyers.
  5. Removal of potential hazards: Older popcorn ceilings may contain asbestos or lead, which can be safely encapsulated or removed.

Safety Considerations Before Removal

Before you start removing a popcorn ceiling, address potential safety hazards, particularly in homes built before the 1980s.

Asbestos Testing

Popcorn ceilings installed before 1980 may contain asbestos, a hazardous material known to cause serious health issues when its fibers become airborne. You must have your ceiling tested for asbestos before attempting removal. If asbestos is present, consult with a professional asbestos abatement company to ensure safe removal or encapsulation.

Lead Paint Testing

Similarly, homes built before 1978 may have lead-based paint on or under the popcorn texture. Lead exposure can cause serious health problems, especially in children. If you suspect your ceiling may contain lead paint, have it tested by a professional before removing it.

3 Ways To Remove Popcorn Ceiling

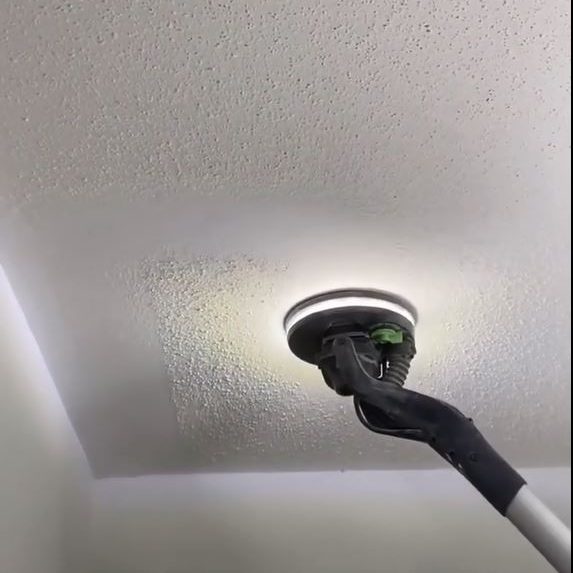
Method 1: Scraping the Popcorn Ceiling

Gather the following tools for a DIY scraping project:

  • 4-inch utility knife or drywall knife
  • Plastic sheeting
  • Painter’s tape
  • Spray bottle filled with water (if the ceiling hasn’t been painted)
  • Ladder or scaffolding
  • Safety goggles and dust mask
  • Joint compound and sandpaper for smoothing

Step-by-Step Scraping Process

Follow the steps below to scrape your ceilings with minimal mess.

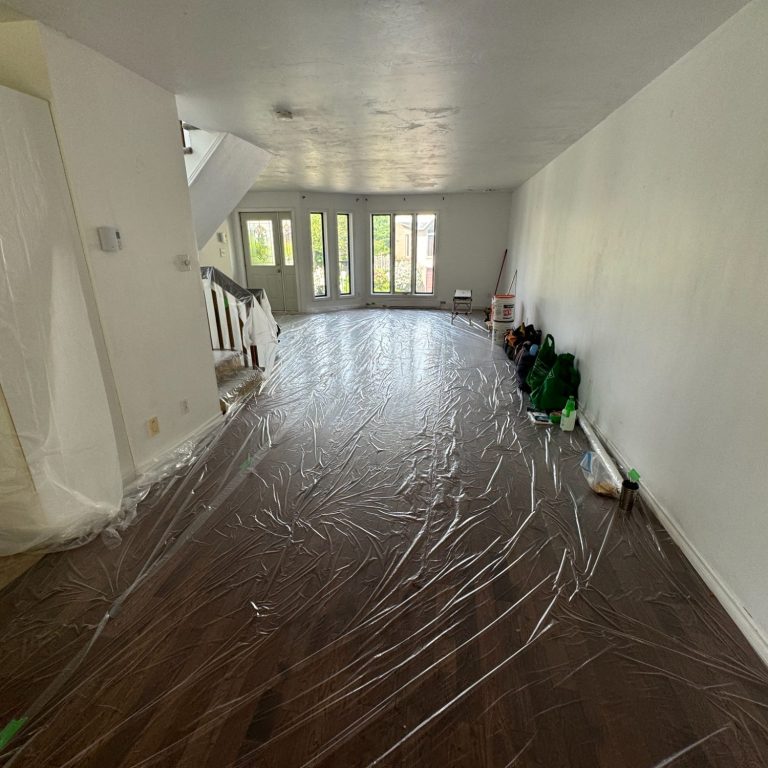
  1. Prepare the room by removing furniture and covering the floor with plastic sheeting.
  2. If the ceiling hasn’t been painted, lightly mist a small section with water to soften the texture.
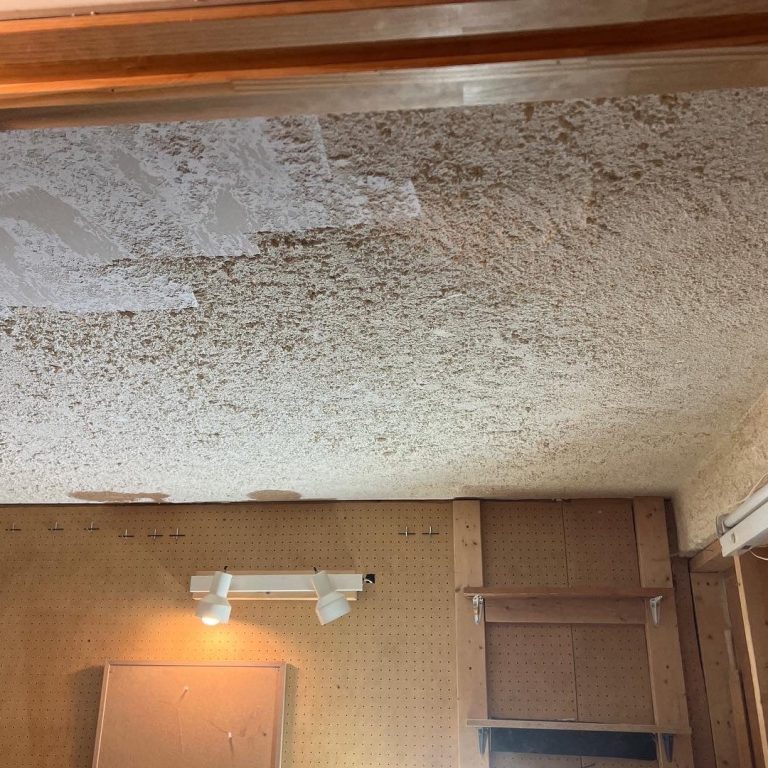
  3. Use your scraping tool to remove the popcorn texture, working in small sections.
  4. After scraping, apply a thin layer of joint compound to smooth out any imperfections.
  5. Once dry, sand the ceiling smooth and prepare for painting.

In the how-to video below, This Old House painter Mauro Henrique shows how to flatten a textured ceiling.

Pros and Cons of Scraping

Here are some of the positives of scraping your ceiling:

  • Is a cost-effective method
  • Can be a DIY project for skilled homeowners
  • Allows for a completely smooth finish

Here are some of the reasons you may want to consider a different option:

  • Is a messy and time-consuming process
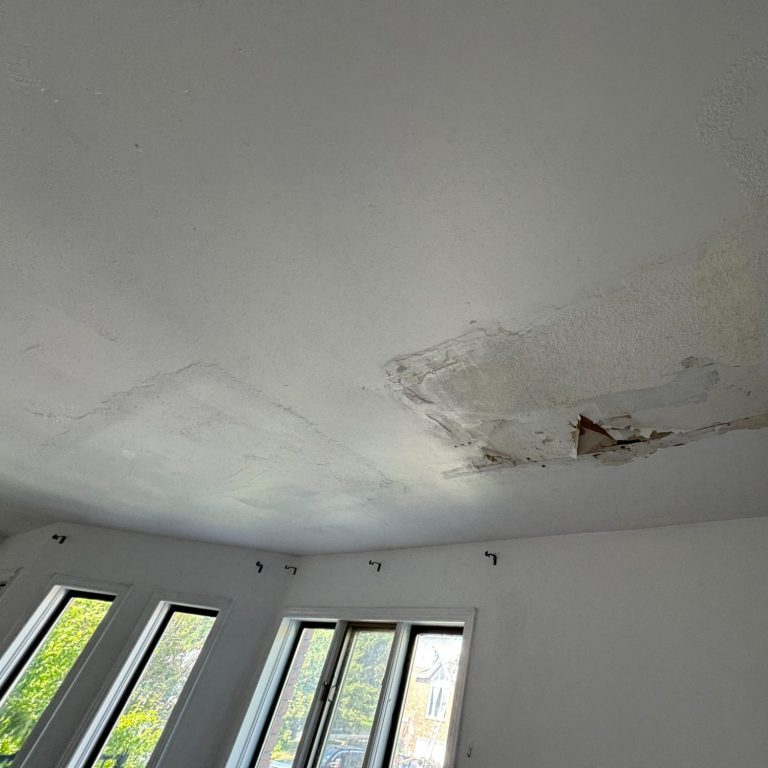
  • May reveal underlying ceiling damage
  • Isn’t suitable if asbestos or lead is present

 Method 2: Covering With Drywall

Covering the existing ceiling with new drywall can be effective for ceilings with significant damage or those containing asbestos. This method provides a clean and smooth surface while encapsulating any hazardous materials.

Tools Needed for Drywalling

You’ll need the following tools and materials to cover your popcorn ceiling with drywall:


  • Ceiling-grade gypsum board
  • Drywall screws
  • Joint compound and tape
  • Drywall lift (recommended for DIY installation)
  • Drywall knife and sander

Step-by-Step Drywalling Process

The steps below outline how to install drywall on your ceiling as a DIY project.

  1. Locate and mark ceiling joists for secure attachment.
  2. Cut drywall panels to fit the ceiling dimensions.
  3. Use a drywall lift to hold panels in place while securing them to joists.
  4. Apply joint compound and tape to seams and screw holes.
  5. Sand and smooth the surface once it’s dry, then prime and paint.

Pros and Cons of Drywalling

The upsides of drywalling your popcorn ceiling include the following:

  • Provides a completely smooth surface
  • Can improve insulation and soundproofing
  • Encapsulates asbestos or lead without removal

However, there are some downsides to consider:

  • More expensive than scraping
  • May require professional installation
  • Slightly lowers ceiling height

Method 3: Skim Coating for a New Texture

Skim coating involves applying a thin layer of joint compound over the existing texture to create a new, smoother surface. This method is preferable if you want a fresh look without the mess of scraping.

Tools Needed for Skim Coating

Gather the following tools before skim coating your popcorn ceiling:

  • Joint compound
  • Large drywall knife or trowel
  • Sandpaper
  • Primer and paint

Step-by-Step Skim-Coating Process

You can take on this project yourself by following the steps below.

  1. Clean the ceiling surface thoroughly.
  2. Apply a thin layer of joint compound over the popcorn texture.
  3. Allow to dry completely, then sand smooth.
  4. Repeat the process if necessary to achieve the desired smoothness.
  5. Prime and paint the new surface.

Pros and Cons of Skim Coating

Skim coating works well for ceilings that don’t have a lot of damage. Here are some other pros:


  • Is less messy than scraping
  • Can be used to create various textures
  • Is suitable for ceilings with minor damage

Skim coating may not be the best choice because of the following reasons:

  • Requires skill to achieve a smooth finish
  • May not be suitable for heavily textured ceilings
  • Is a time-consuming process with multiple steps

DIY vs. Professional Popcorn Ceiling Removal

Deciding whether to tackle popcorn ceiling removal as a DIY project or hire a professional depends on several factors. Here’s what you need to consider before making your choice:

DIY Considerations

Before you decide to tackle this messy task yourself, consider the following:

  • Skill level and experience with home improvement projects
  • Available time and patience for a potentially messy job
  • Ceiling height and accessibility
  • Presence of asbestos or lead (professional removal required)

Professional Removal Benefits

For most homeowners, professional removal offers the best balance of safety, quality, and convenience, especially for larger areas or older homes. Here are the upsides of outsourcing this project:

  • Expertise in handling various ceiling conditions
  • Proper equipment and safety measures
  • Faster completion time
  • Often includes cleanup and finishing work

Preparing Your Space for Popcorn Ceiling Removal

Proper preparation sets you up for successful popcorn ceiling removal, regardless of the method you choose. Ensuring that your space is ready will save you time and effort down the line.


Furniture Protection

If possible, remove all furniture from the room. For items that can’t be moved, cover them completely with plastic sheeting to protect them from dust and debris.

Floor Covering

To create a sealed work area, cover the entire floor with thick plastic sheeting, securing it to the baseboards with painter’s tape.

Personal Protective Equipment

Always wear safety goggles, a dust mask or respirator, and protective clothing to guard against falling debris and dust inhalation. Protecting yourself will make the job easier and keep you safe from potential health hazards.

Post-Removal Finishing Touches

After removing the popcorn texture, your ceiling will likely need some additional work to achieve a polished and professional look.

Patching and Repairs

Inspect the ceiling for any cracks, holes, or damage revealed during removal. Use joint compound to patch and repair these areas, ensuring a smooth surface for painting.

Priming and Painting

Once repairs are complete and the ceiling is smooth, apply a coat of primer followed by your chosen paint. This final step will give your room a fresh, updated appearance and complete the transformation.

Logo

We need your consent to load the translations

We use a third-party service to translate the website content that may collect data about your activity. Please review the details in the privacy policy and accept the service to view the translations.